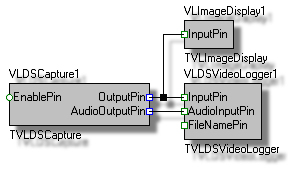

This is a step by step tutorial for writing a simple DirectShow video capture application in Delphi or C++ Builder VCL by using VideoLab. The steps are exactly identical in Delphi or C++ Builder versions 5 to 2007.
Using the application created by following the tutorial, you will be able to capture from Webcam, Camcorder, Camera, TV Tuner, DVR, VCR, DVD Player, or any other video source.
WARNING: In order to run the application in this example you must have DirectX 9.0 or higher installed on your system!
There is no code writing necessary to complete this application.
There is no need to know Delphi or C++ Builder in order to create this application.
The steps bellow are captured using Delphi 2007, however they are identical in C++ Builder and older versions of the products.
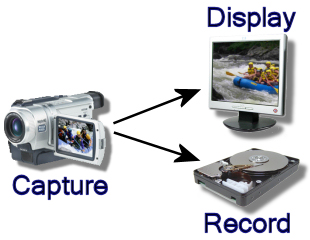
The tutorial covers the following steps, which should take less than two minutes:
1. Add a TVLDSCapture Component to Your Application's Form:
1.1. From the VideoLab tab of the component palette drop a ![]() TVLDSCapture component.
TVLDSCapture component.
2. Add a TVLDSImageDisplay Control to Your Application's Form:
2.1. From the VideoLab tab of the component palette drop a ![]() TVLDSImageDisplay control.
TVLDSImageDisplay control.
3. Add a TVLDSVideoLogger Component to Your Application's Form:
1.1. From the VideoLab tab of the component palette drop a ![]() TVLDSVideoLogger component.
TVLDSVideoLogger component.
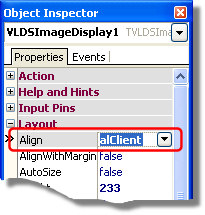
4. Set the VLDSImageDisplay1 Control's Properties:
3.1. Set the VLDSImageDisplay Control’s Align property to “alClient”:
5. Select video capture device for the VLDSCapture1 Component:
5.1. Right click on the VLDSCapture1 component, and then select “Select Video Device ...” from the menu:
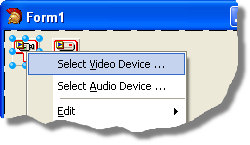
5.2. In the dialog select a video capture device:
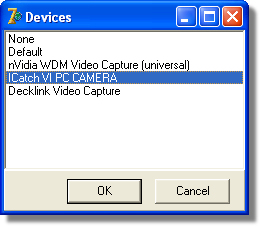
5.3. Optionally select audio capture device. If you do not select the device the component will use the default device for your system.
6. Connect the VLDSCapture1.OutputPin to VLDSImageDisplay1.InputPin and CLDSVideoLogger1.InputPin:
6.1. In the VLDSCapture1 Properties select OutputPin and click on the ![]() button:
button:
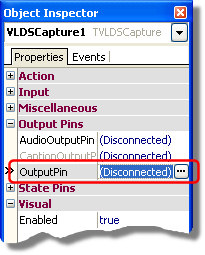
6.2. In the connection editor check the InputPin of the VLDSImageDisplay1 and the InputPin of the VLDSVideoLogger1, then click OK:
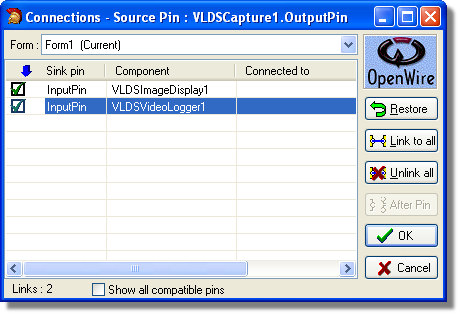
7. Connect the VLDSCapture1.AudioOutputPin to VLDSVideoLogger1.AudioInputPin:
6.1. In the VLDSCapture1 Properties select AudioOutputPin and click on the ![]() button:
button:
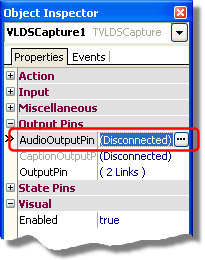
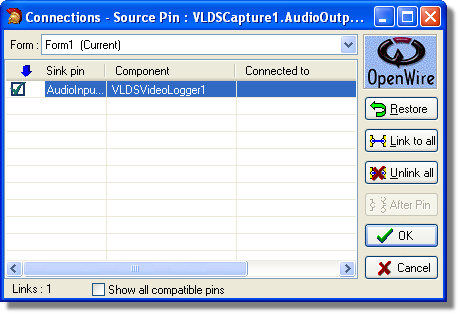
7.2. In the connection editor check the AudioInputPin of the VLDSVideoLogger1 and click OK:
8. Specify file to record in the VLDSVideoLogger1 Component:
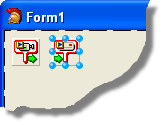
8.1. Select the VLDSVideoLogger1 component:
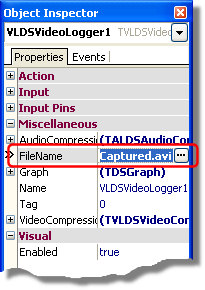
8.2. In the VLDSVideoLogger1 Properties select the FileName property and enter the path and the name of the file where you want to record the captured video:
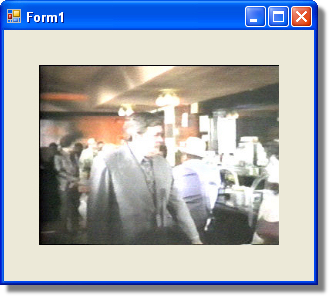
9.1 Press (F9) to run the application. You should see the captured video:
Here is a diagram of the OpenWire connections in this application:
